What’s better than creating your own astronomical image? The Utah Desert Remote Observatories Imaging Experience is designed to help anyone realize their vision and create their own image. We can provide as much or as little assistance as you want.
All experiences start with a personal Zoom session. The most important step is for us to understand your goals so we can be sure to offer solutions that will meet your needs. We’ll review options to decide on your chosen target and discuss the best way to capture the image. Many targets are seasonal so we’ll consider the best targets for the time of year. See our blog post Choosing a Target for more details about the different types of targets.
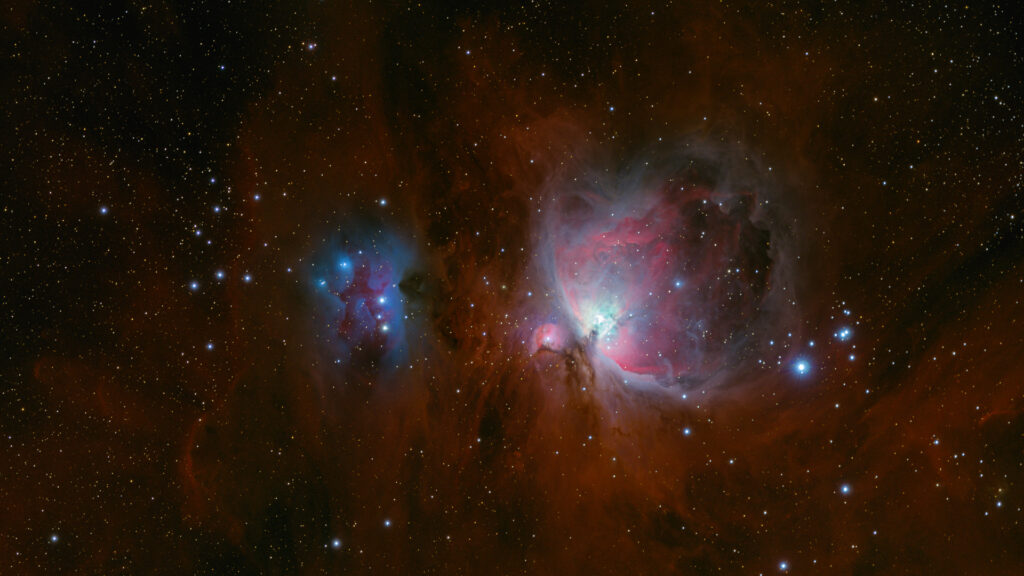
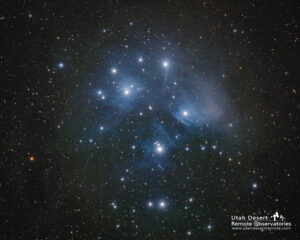
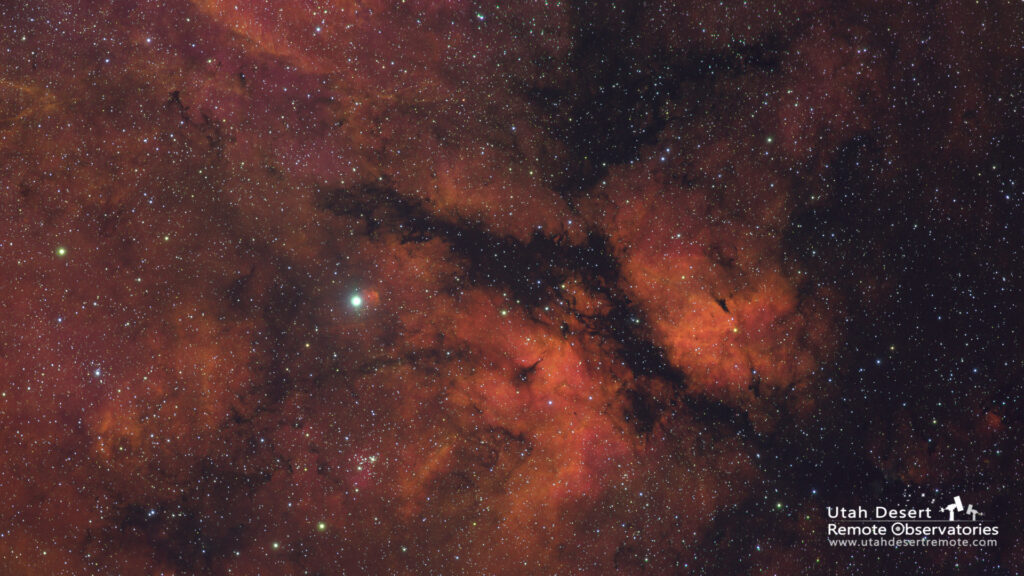
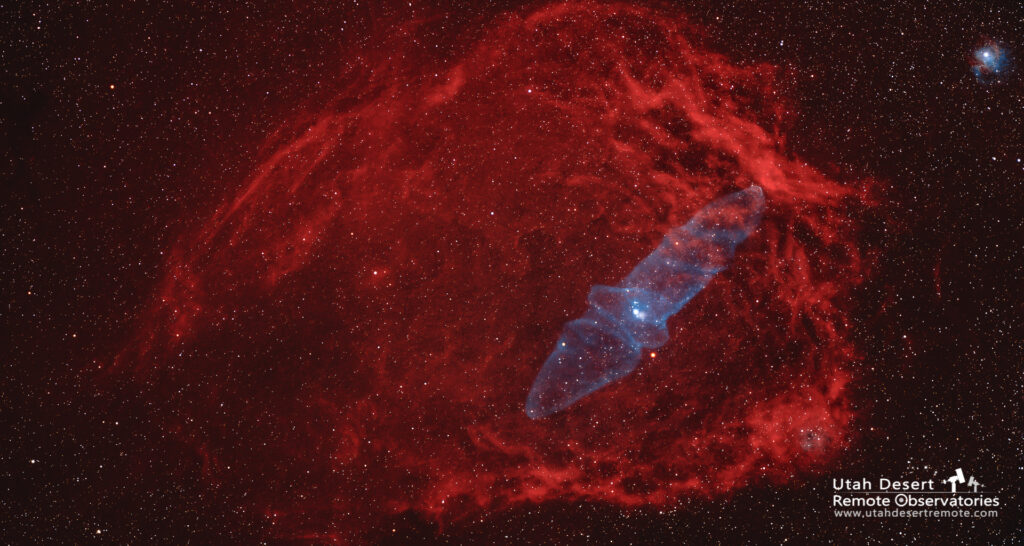
We have two different telescopes to choose from, a wide-field 530mm focal length Takahashi FSQ106 and a longer 2541mm focal length PlaneWave CDK12.5. The FSQ106 is perfect for large features such as the Pleiades, Orion or the North America Nebula (see the blog post How Big is It for more examples). The apparent size of the target will help us decide which system will work best for you.
All imaging is done using a high-quality ASI6200 dedicated astronomy camera which has a full-size 35mm sensor providing 64 megapixels of resolution. The ASI6200 is full 16 bit camera with an active cooling system to chill the sensor. The benefit is that great images can be created with less imaging time because of reduced noise and increased sensitivity.
You have a choice of either a monochrome version that uses special colored filters or a color version that creates a full-color RGB image. Either camera can be used to create color images and in general you’ll get better results using the monochrome camera. See the blog post The Anatomy of an Image for more details on how color is created.
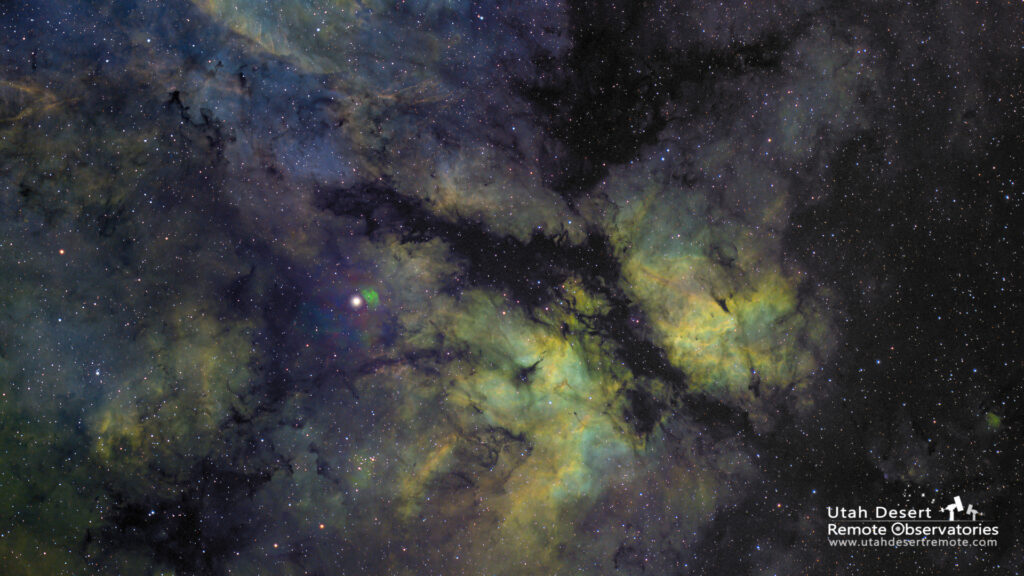
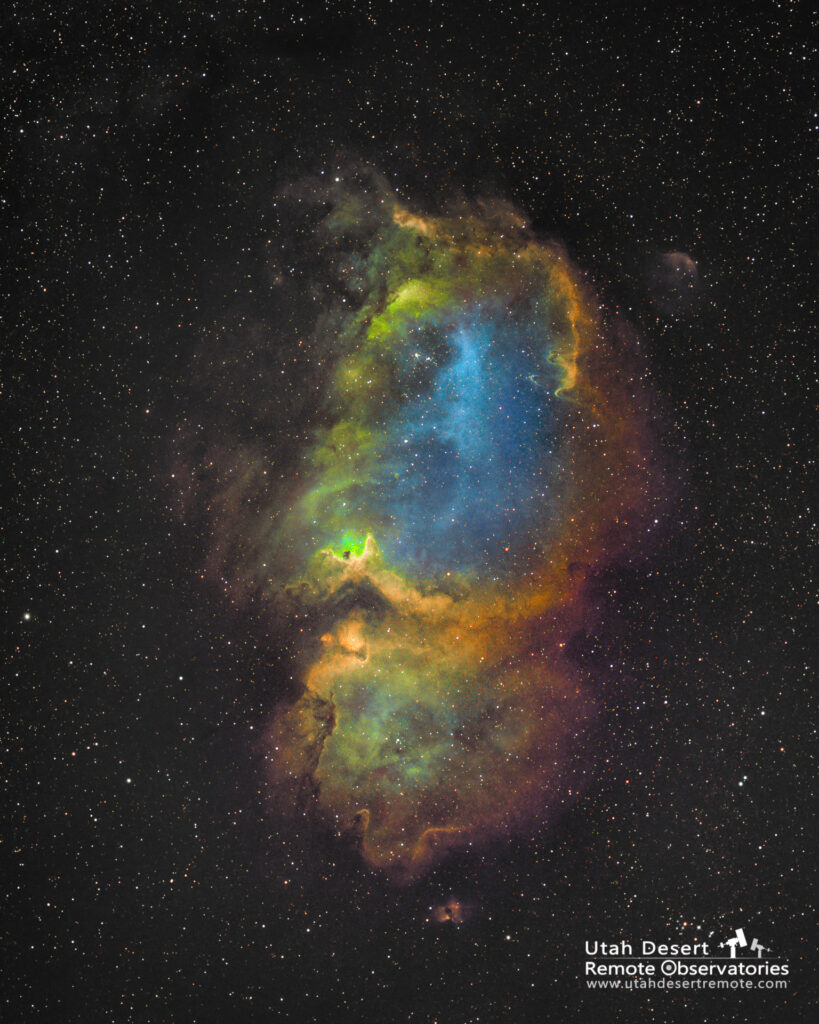
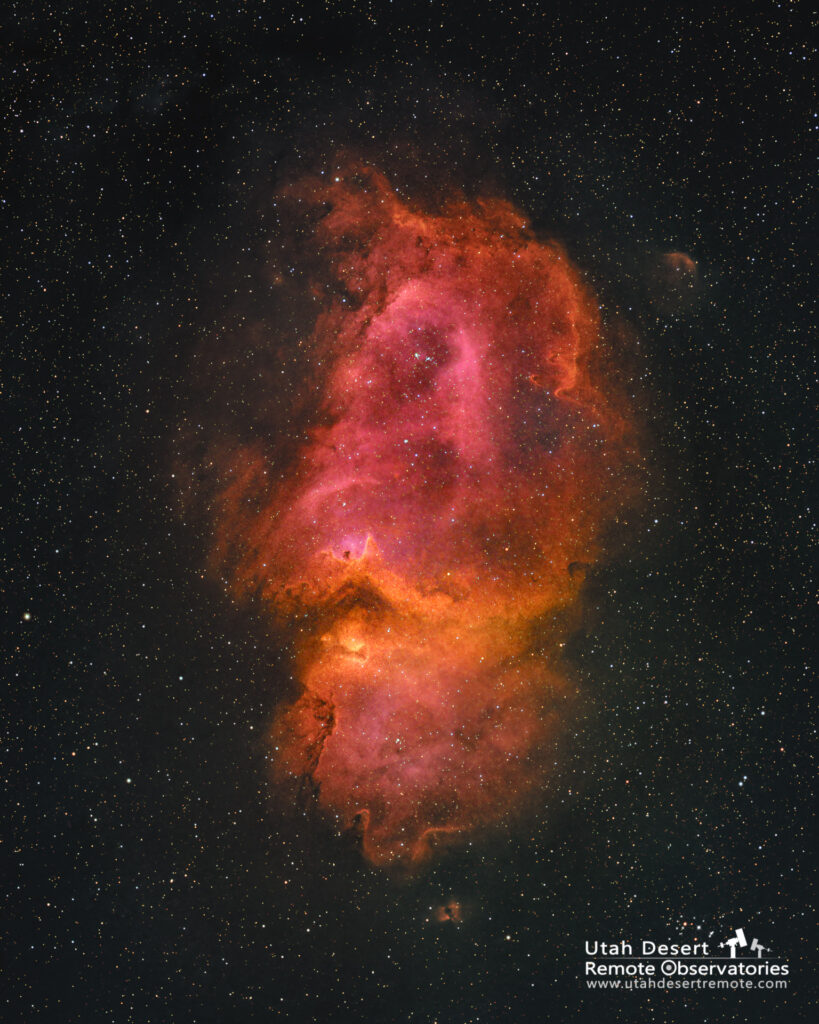
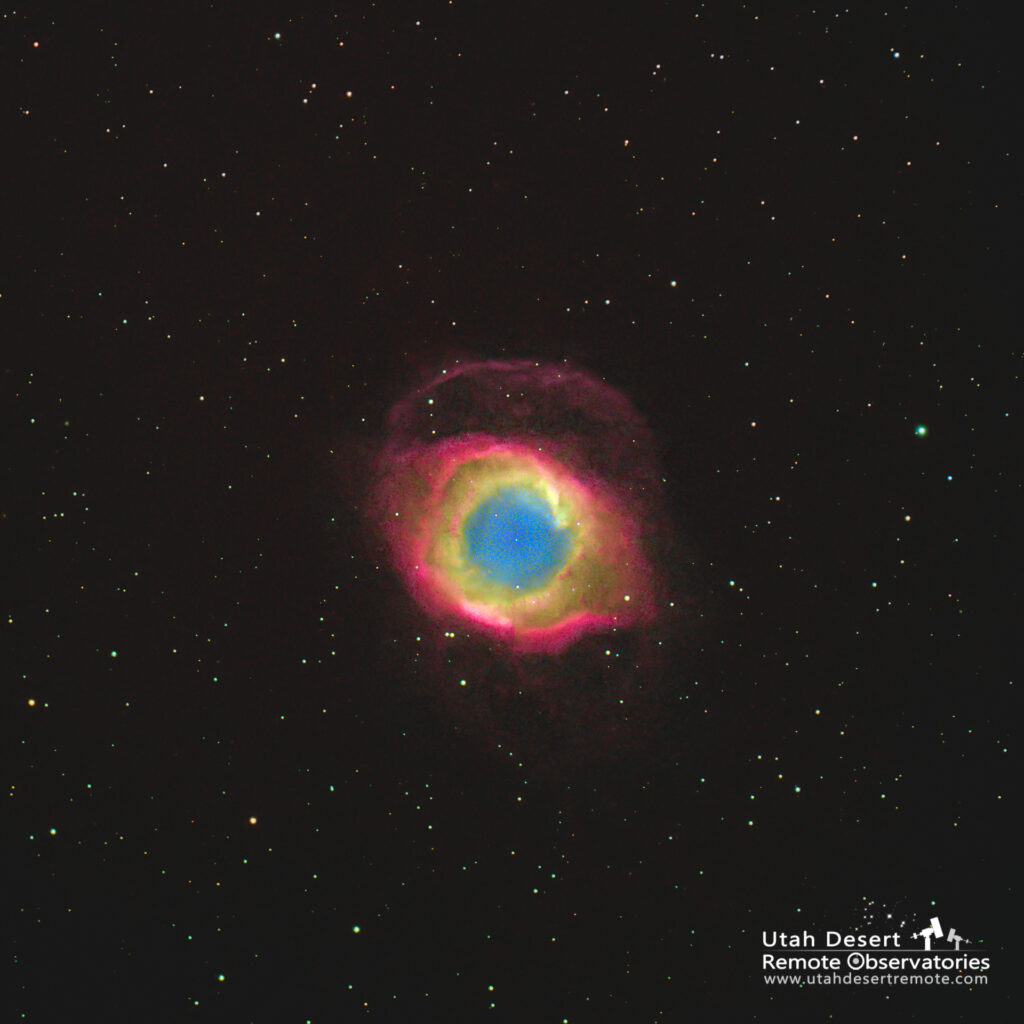
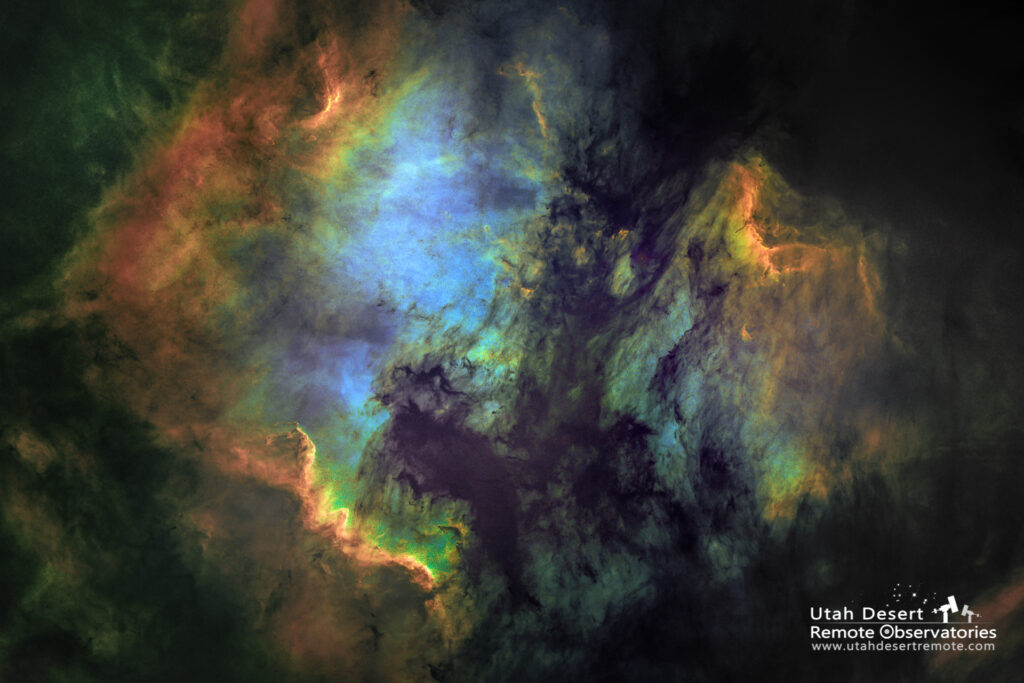
There are also options regarding how you’d like to image the target. The main point of the decision is whether you’re looking for a natural color image or one that uses color mapping to bring out details that a normally hidden. You can see more examples in the Utah Desert Remote Observatories image gallery.
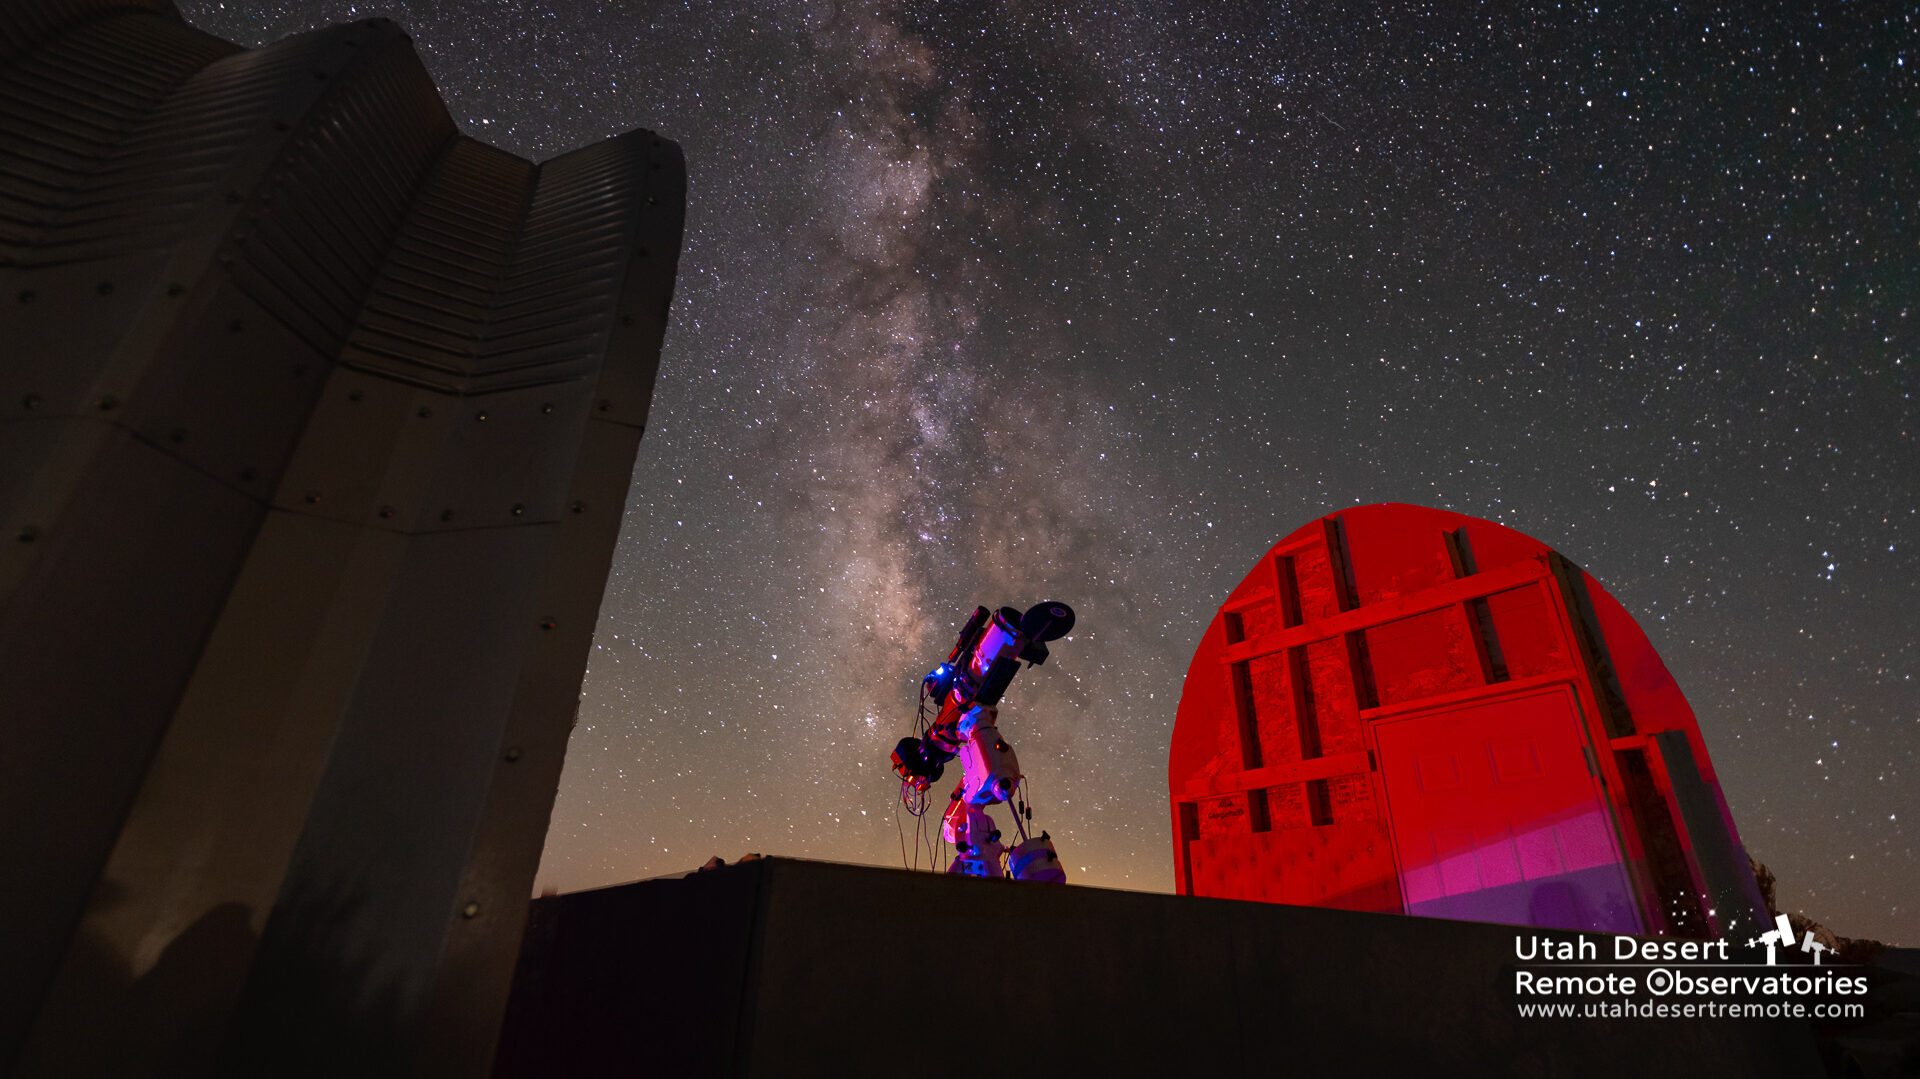
The Utah Desert Remote Observatories Astro-Imaging System
Once we understand your goals we can set up the run sequence. We’ll look at different ways you might want frame the target using a planetarium simulator so you can visualize the telescopes field of view and camera rotation to make the best choice.
After the imaging sequence is completed we tailor the next steps to fit your needs. For instance, an experienced astro-imager will want the RAW .FITS files straight from the camera along with appropriate calibration files. If you’re an experienced photographer but new to astro-imaging you may want files that are calibrated and stacked in a format that is Photoshop-friendly so you can jump right into processing there. We can even do all of the processing for you and deliver a finished image ready to be printed and displayed as a work of art.
Imaging Experience Options and Prices
| Base Package for Everyone | |
| Consultation and Imaging, RAW .FITS files you can download | $70 for 1st imaging hour, $50 for 2nd, $40 each additional hour |
| Additional Services | |
| Stack and calibrate into .FITS master files | $50 |
| Create stretched / starless layers for Photoshop | $15 per layer |
| Process into a finished image | $150 |
| 16 X 20 fine art print on aluminum | $265 |
Want the complete experience and a finished print to remember the experience? You can get everything including 3 hours of imaging and a 16X20 inch print on metal that arrives ready to display on you wall for only $495. We’ll collaborate to choose the target and processing style and you can even watch the imaging session run as it’s live streamed on our YouTube channel. We’ll review the data and processing in a second Zoom session. Finally, you’ll get your finished image beautifully printed on durable aluminum ready to display without the need for expensive framing.
Book your Utah Desert Remote Observatories Imaging Experience today by phone or email to info@utahdesertremote.com