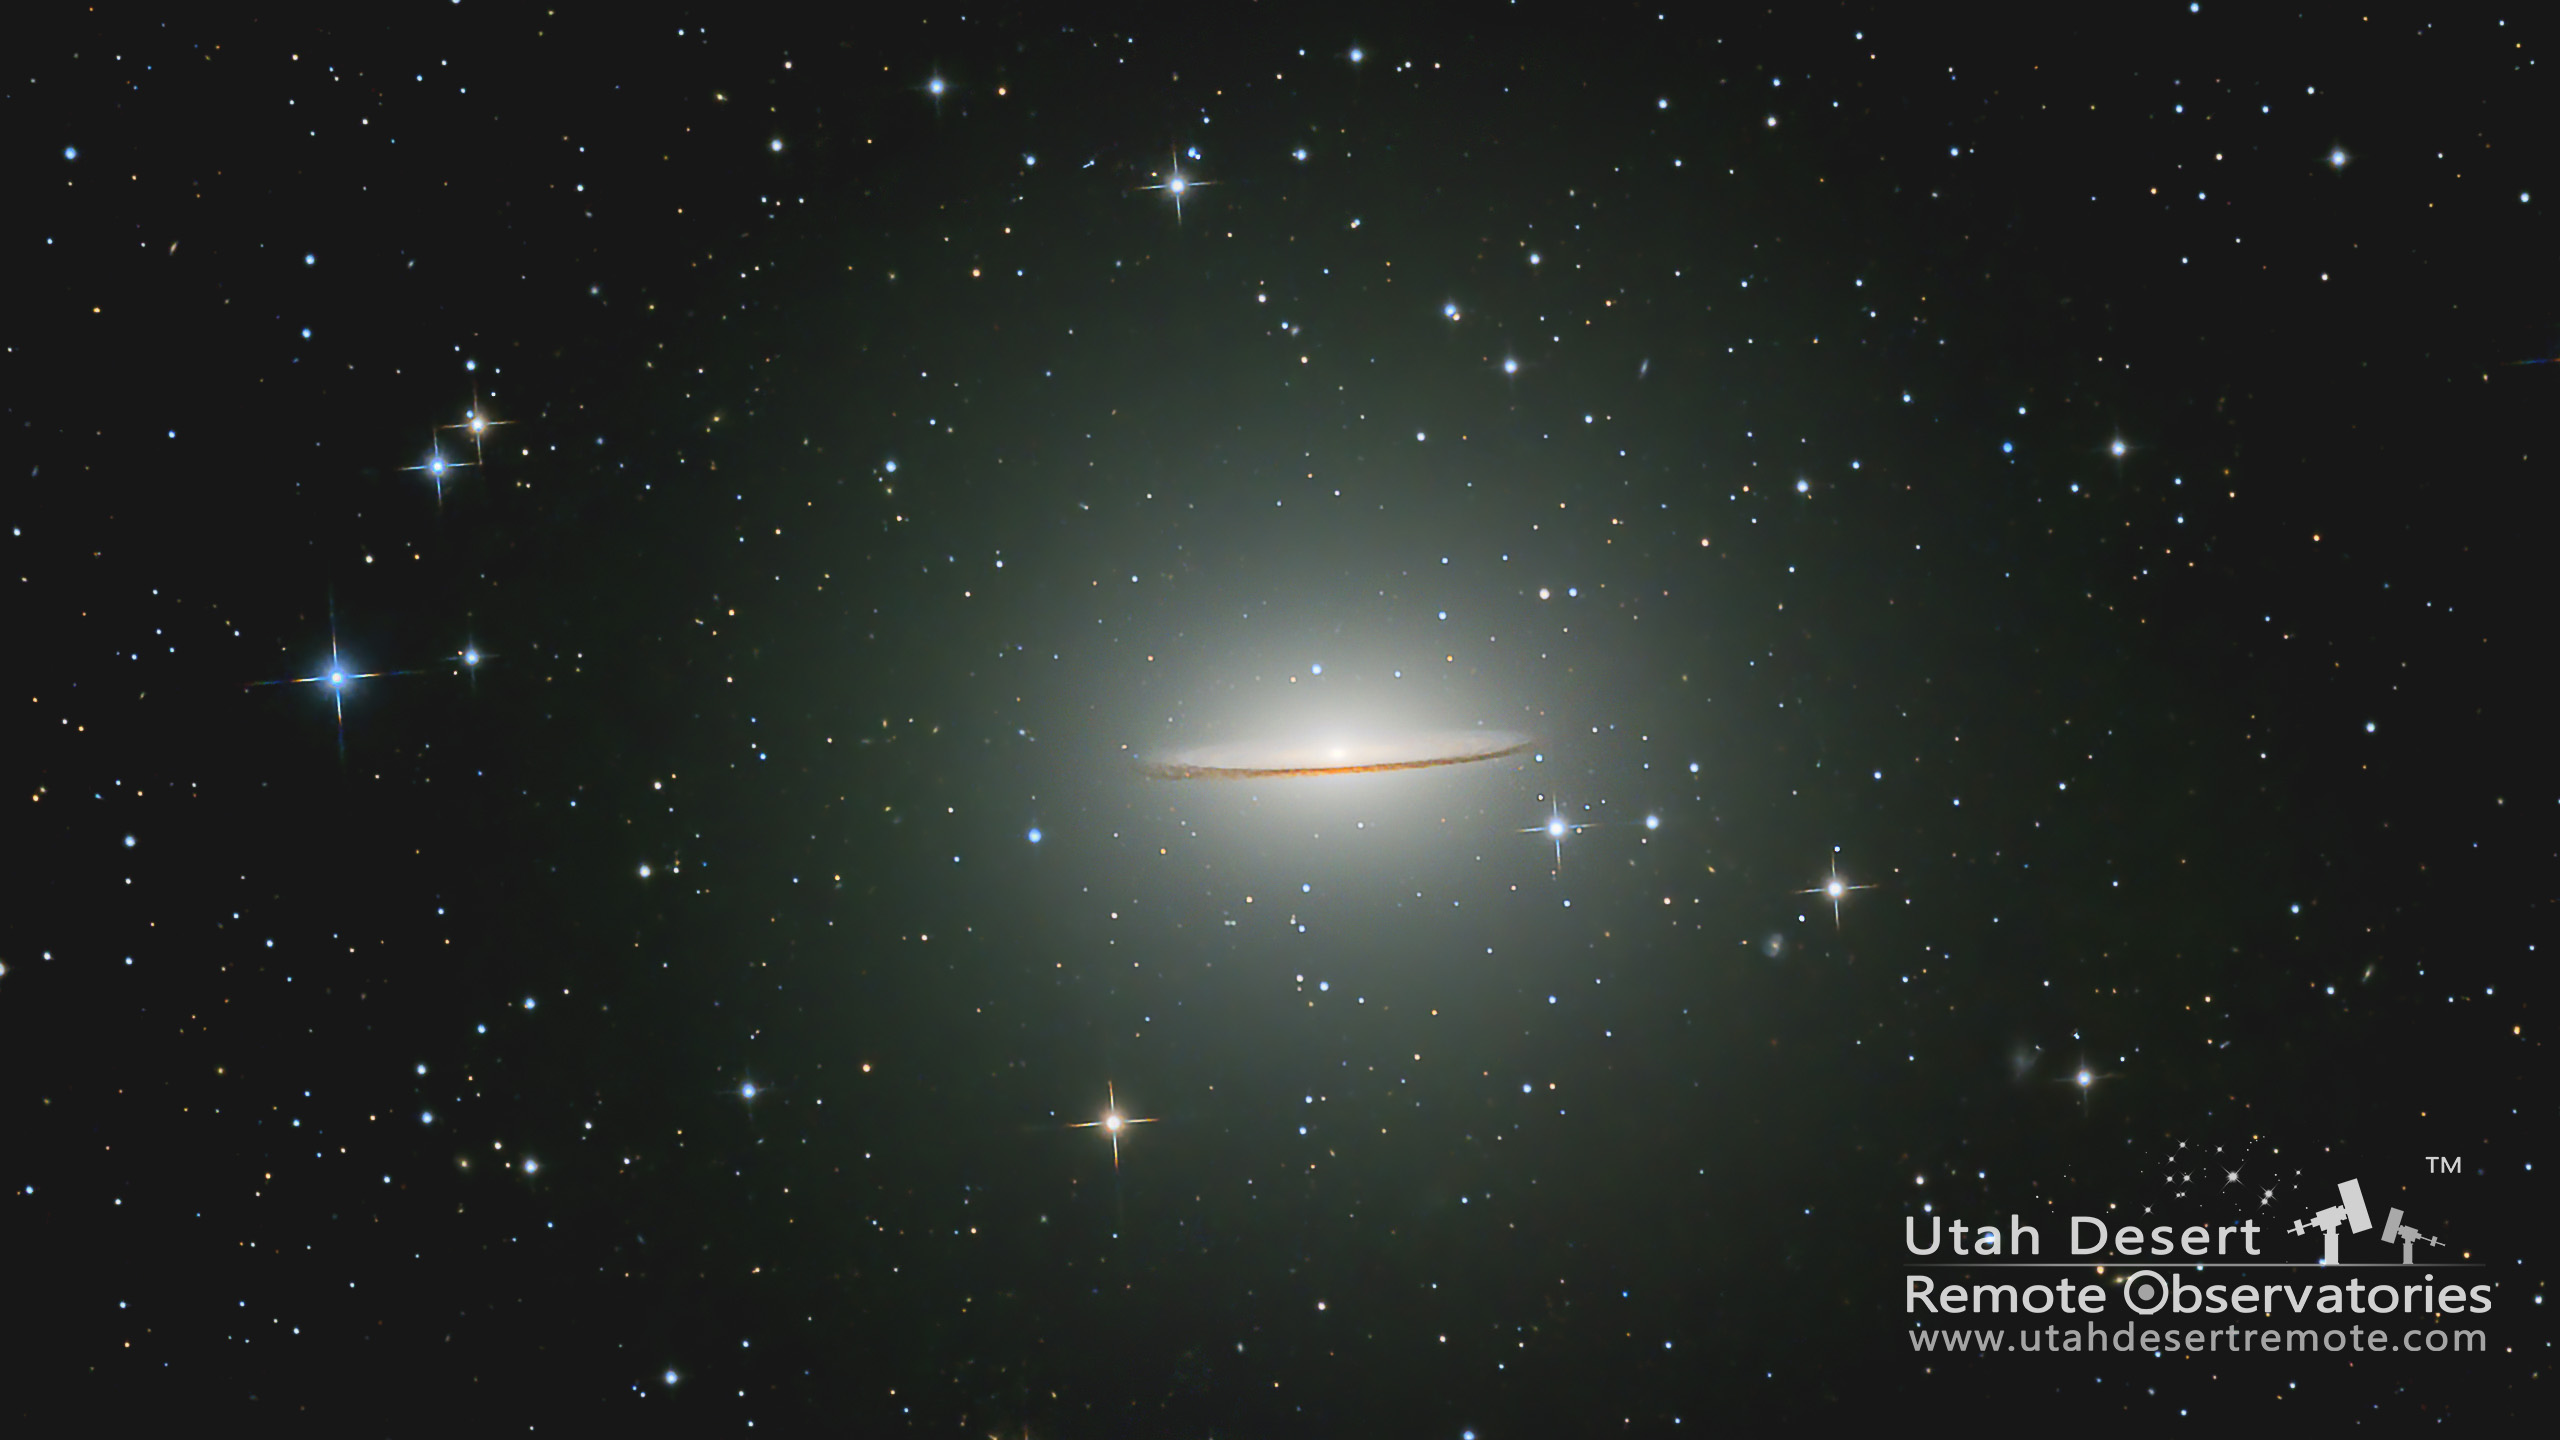
I recently imaged the Sombrero Galaxy and for some reason I had a number of dust spots still remaining after stacking the images in PixInsight. I don’t know if I grabbed the wrong flats or what, but it was easier to fix the problem in Photoshop rather than searching for the right flats and running the calibration again.

I see a lot of people reach for the Clone Stamp tool to fix problems but that’s rarely the answer. In fact I almost never use the Clone Stamp tool. Much of the time the problem is really just one of luminosity, something is too bright or too dark. In this case the dust spots are darker than the surrounding sky but all of the detail we want is there. We don’t want to change the detail, just the brightness.
The answer is to use some form of local brightness adjustment – usually called burning and dodging. Burning is used to darken an area and dodging is used to brighten an area. Like anything in Photoshop there are a number of ways to do it but my favorite method is to use a blank layer set to the Soft Light blending mode. Then I can simply paint with a low opacity brush in either white or black to lighten or darken an area. Tap the ‘X’ key to switch between lightening and darkening – it’s fast and easy.
The video below shows the technique.