By Jett Peters
HOO Noise Reduction with NoiseXTerminator AI Version 3
Many nebulae look very good when just showing their HA and OIII emission. The most well-known example of this is the Veil Nebula. It does have sulfur emission, but the majority of the images we see are just hydrogen and oxygen emission. These images are made using the HOO color palette. HOO stands for hydrogen, oxygen, oxygen, and, as the order suggests, hydrogen is bound to the red channel and oxygen is given both the green and blue channel. This gives us our nice red and blue look. It only takes two filters worth of data to make, but it does have drawbacks.
While a standard narrowband or RGB image is composed of a set of three unique images, an HOO combination has only two real sets of data. This does not generally cause problems, but it can make things challenging when addressing noise reduction. The most powerful tool for noise reduction currently is a free PixInsight tool called Deep SNR, but it is only for RGB (3 channel) images, not two channel or grayscale images. This means that we cannot effectively run deep SNR on HOO images, or, like in the bubble nebula blog post, virtual SHO images.
A tool competing with Deep SNR is RC-Astro’s NoiseXTerminator. It is a PixInsight plugin that does AI noise reduction similar to that done by Deep SNR, but historically it was not as effective. However, a new update has made NoiseXTerminator more comparable to Deep SNR, and an added benefit is that it also works for 2 channel images like HOO and single channel grayscale images.
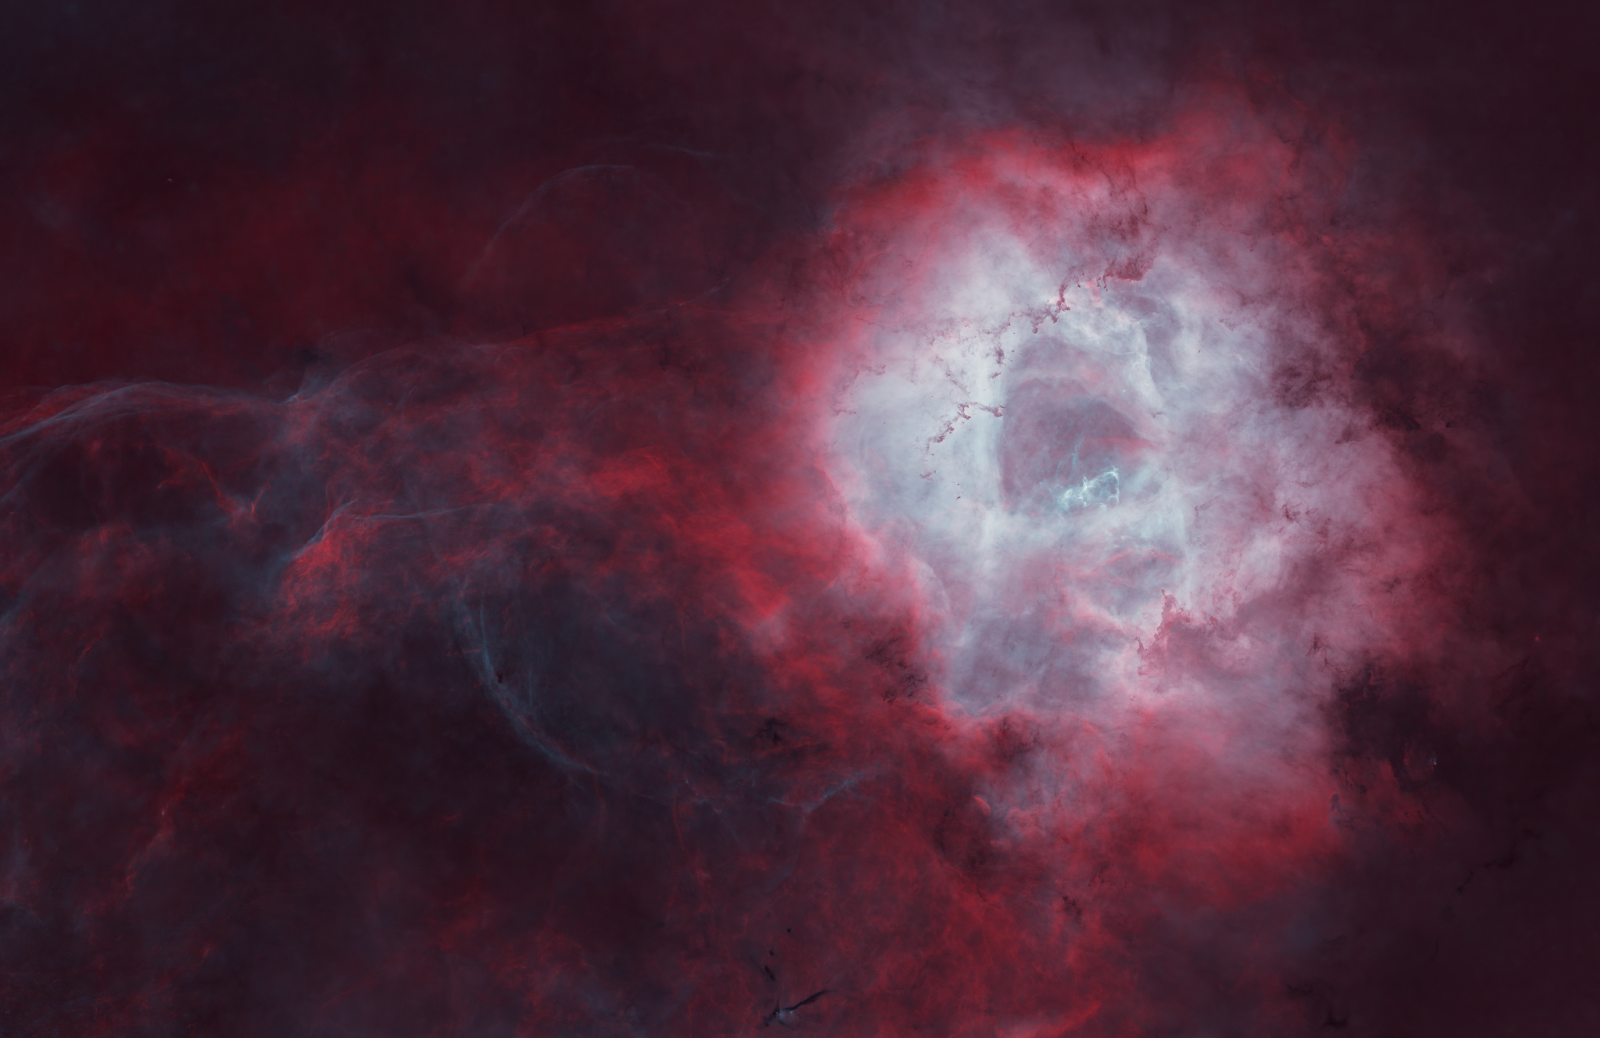
Let’s enable AI version 3 for NoiseXTerminator and show its performance on a HOO composition of the Rosette Nebula!
After updating the plugin, when you open NoiseXTerminator in PixInsight you will see the following:
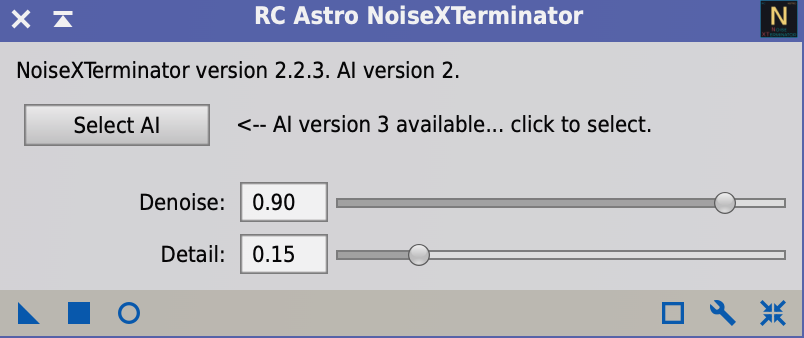
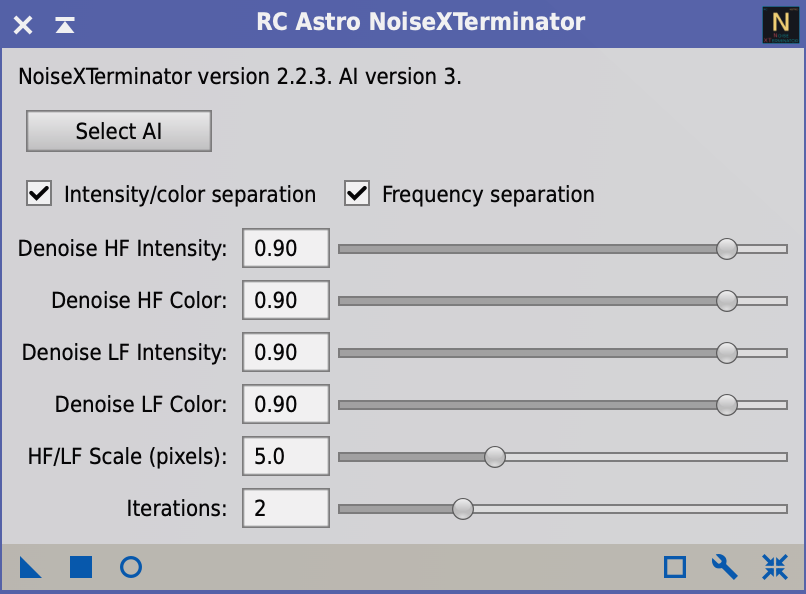
To enable AI version 3, you will need to click the Select AI button and find version 3 in the folder. Once this is complete, you will see the following dialog box. As seen below there are a lot more settings, which we can use to tune our denoise. How you change these settings will vary depending on your image, and your taste.
Let’s look at some HOO Rosette data taken from UDRO, to see this tool in action.
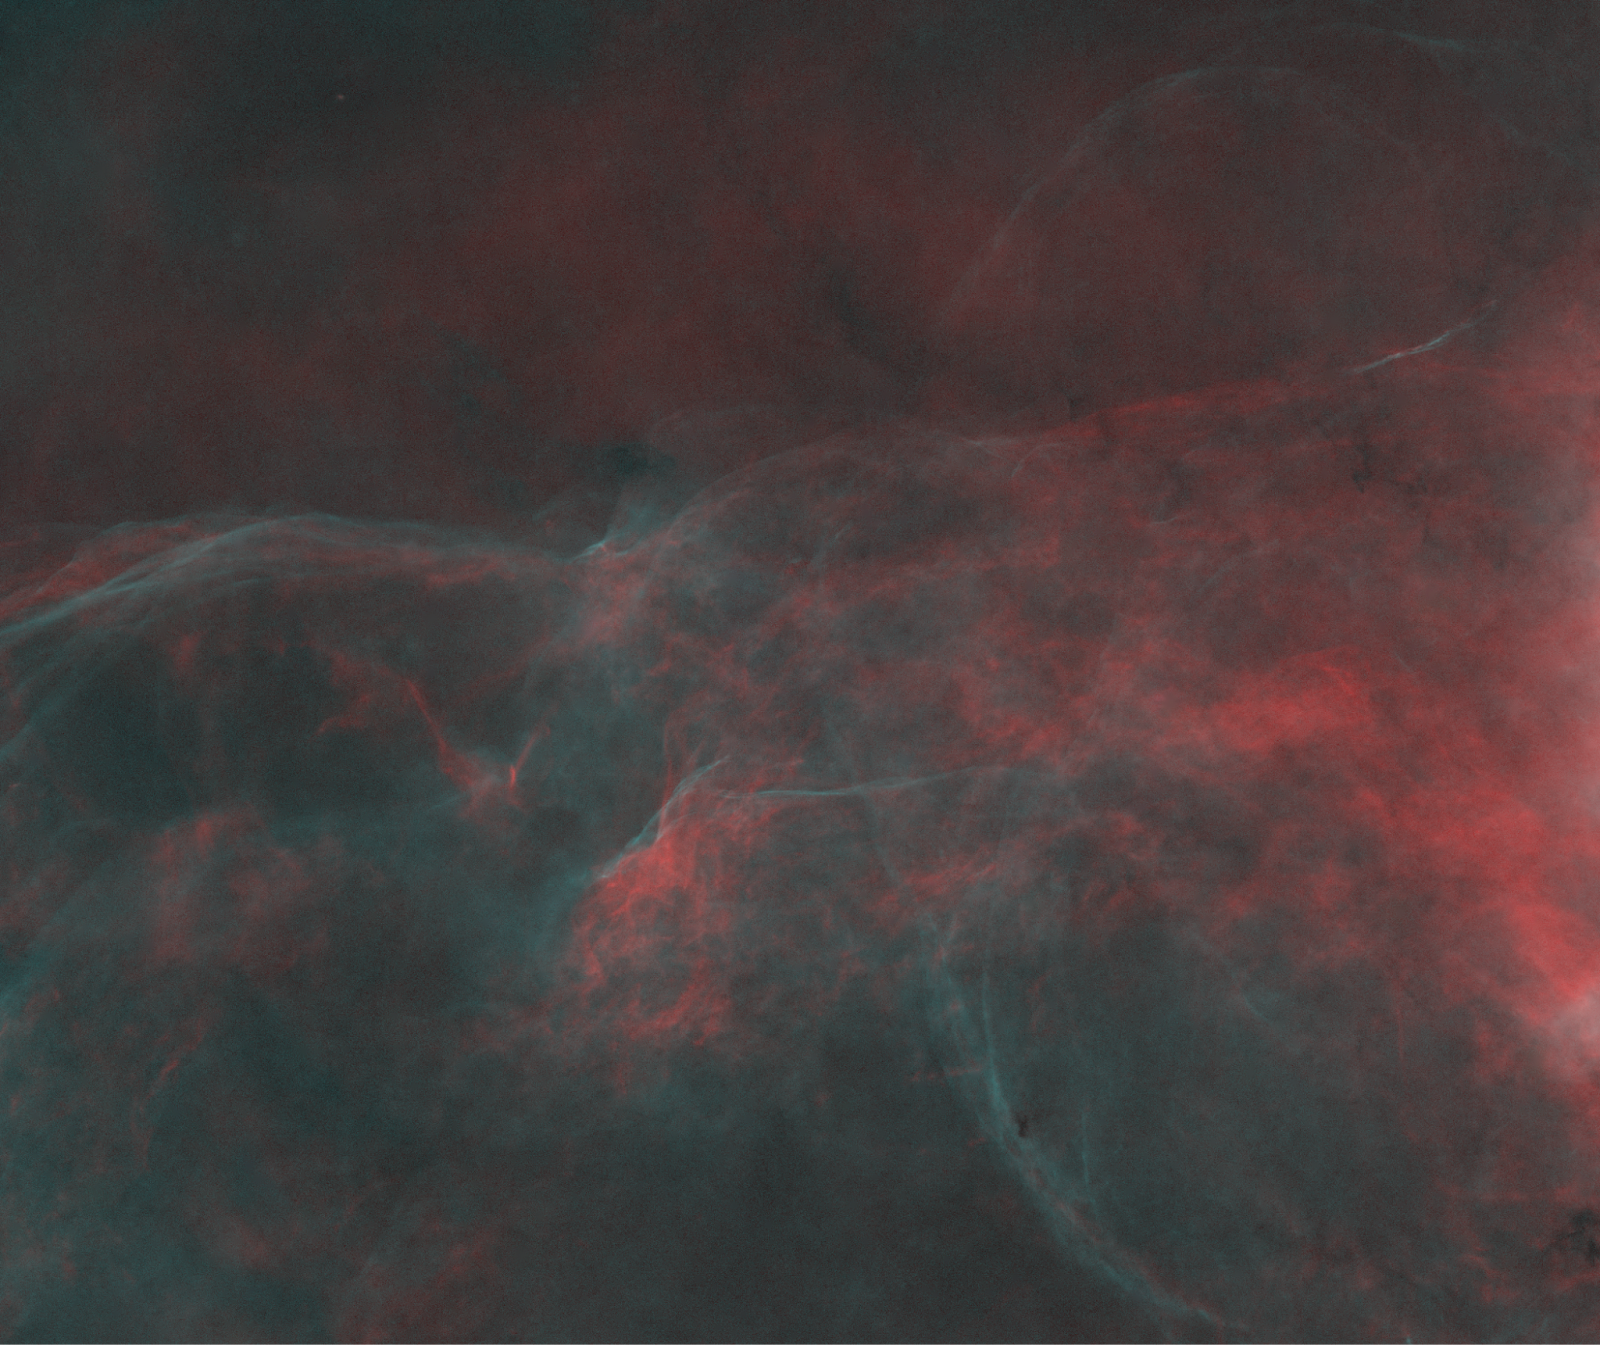
This is an outer part of the Rosette, and, as you can see, this image has quite a bit of noise. This is normal for HOO, but now we have another tool for handling it! After a few curve adjustments and running NoiseXTerminator with AI version 3, we get the results below. While this still has the look of a noise-reduced image, the effectiveness of the tool is impressive given the starting point. There is much more processing and tweaking of the noise reduction needed, but this illustrates the power of the tool.
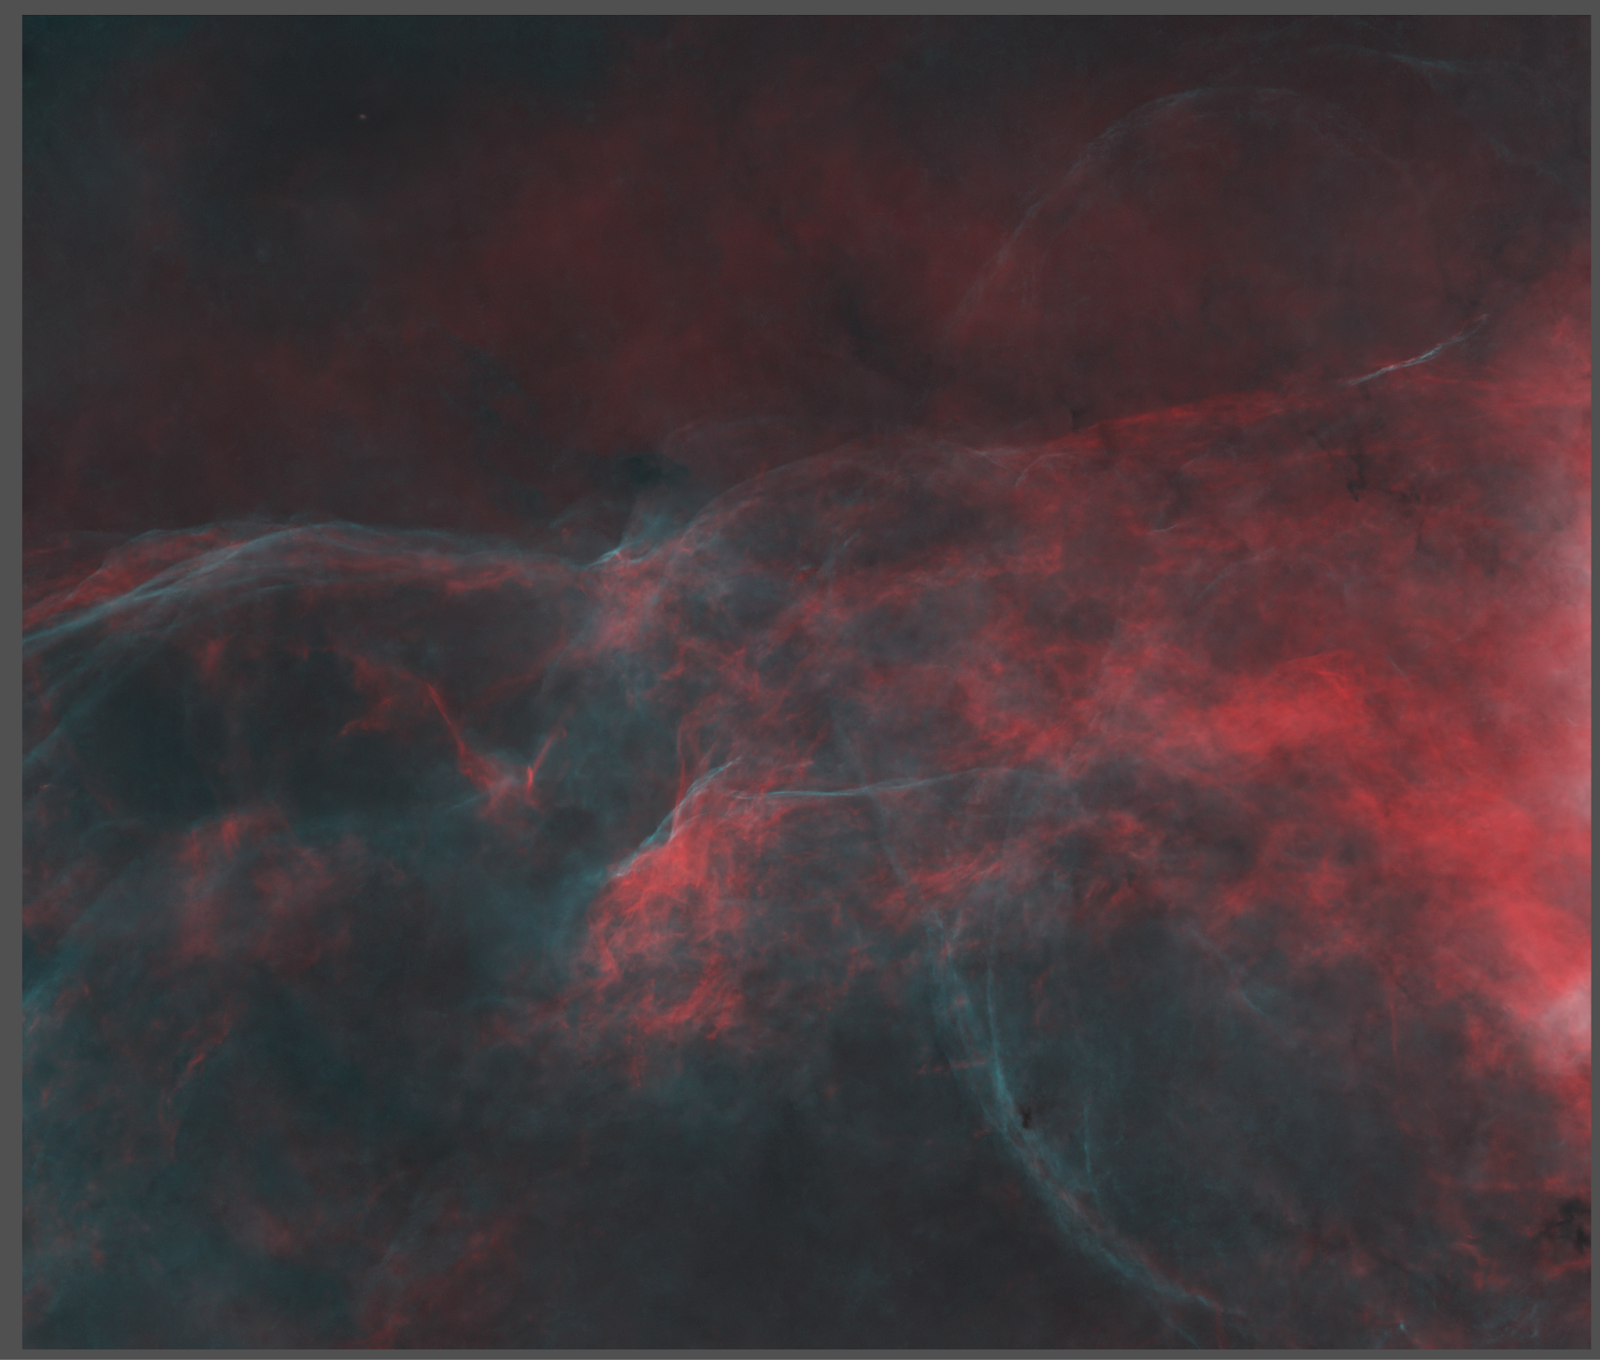
Incorporating NoiseXTerminator AI version 3 the following image of the Rosette was processed: