I’ve been a photographer (professional or enthusiast) for the last 50 years so when I started doing astrophotography I approached it the same way I would any other style of fine art photography. (The term “fine art” simply means that the aesthetics of the image is my main motivation.) I’ve also been doing digital imaging in some form since the mid-1990’s and I’m very comfortable in Photoshop. Put those two factors together and you can see why I tend to use a Photoshop-based workflow – it’s the tool I already know.
There are lots of great tools for processing astro images and you should use whatever works well for you. If what you’re using now is working then that’s the goal. But – if you find yourself struggling when you use Photoshop then this may help you out.
I’m a big believer in using a layer-based non-destructive workflow in Photoshop. There are lots of advantages; it’s fast, flexible, reversible and easy – all of which leads you to better results. I find I use an iterative approach where I’m never finished with an image the first time I work on it. I keep going back to refine and rethink creative decisions I made earlier as I gradually converge on the vision I have for the image.
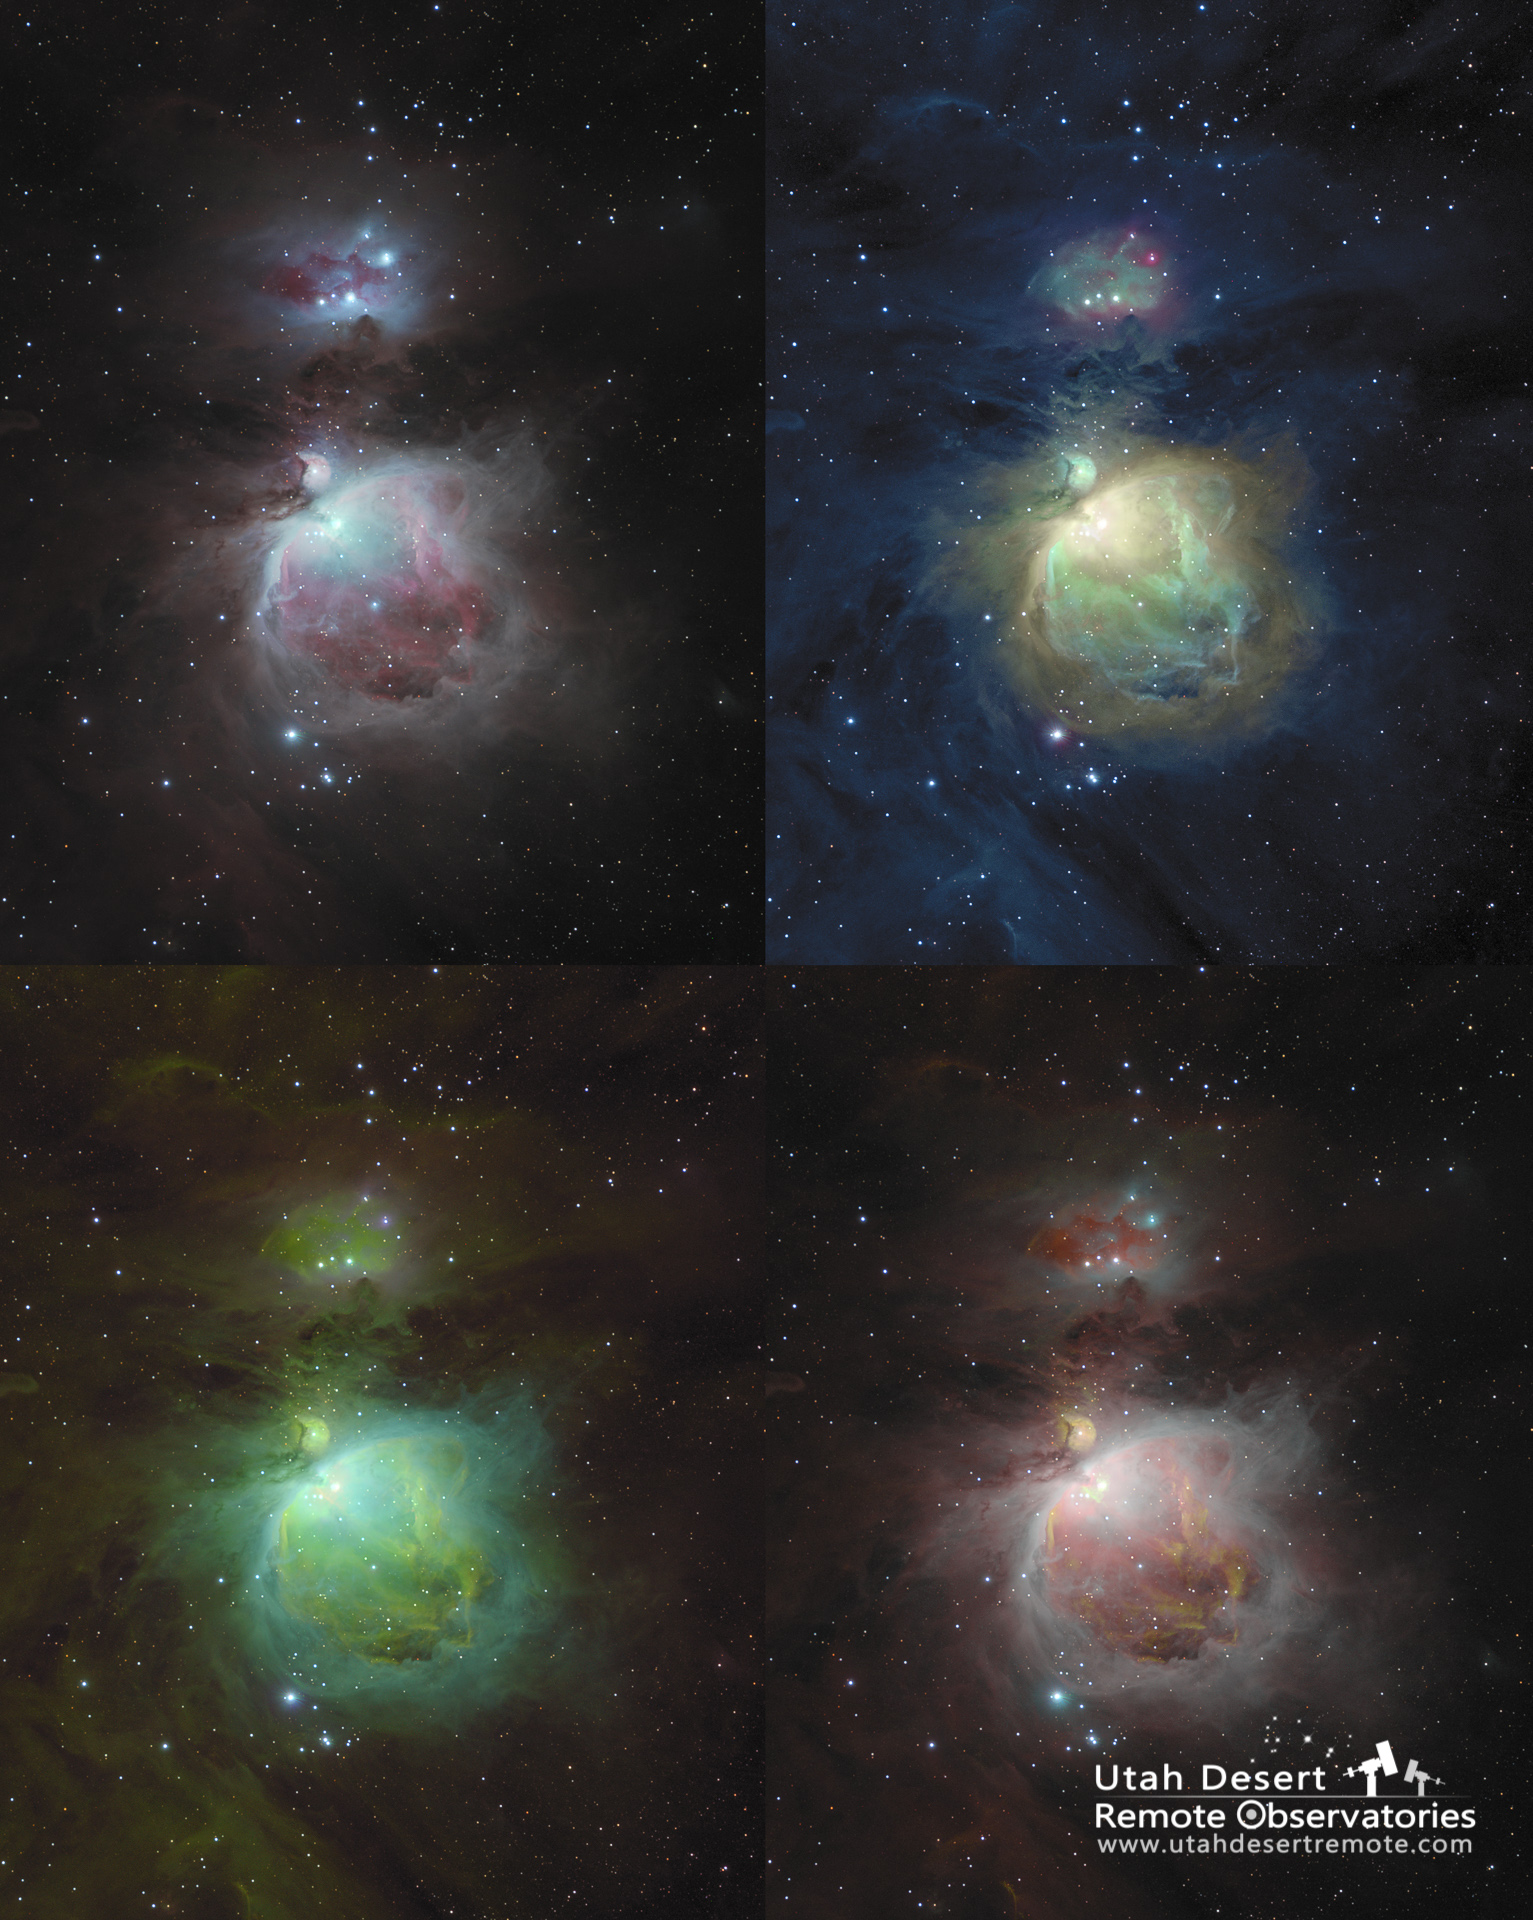
That’s particularly true of color mapping. There is a seeming endless range of choices from the basic RGB broadband view to a host of narrowband combinations including the Hubble SHO color palette and the HOO bi-color palette. A layer-based workflow easily supports all of those combinations.
Below are four videos showing the process in Photoshop from start to finish.
The first video focuses on the basics and produces a broadband RGB image. The video makes reference to a stretching method developed by Mark Shelley. You can learn more about it at his website at markshelley.co.uk.
The second video picks up where the first left off and examines the narrowband data and concludes by adding some of the narrowband details to the broadband image.
The third in this two-part series delves more deeply in processing the narrowband data. It illustrates various ways you can continue to enhance and tweak the colors in a narrowband image to find just the combination you want.
Lastly, the fourth in the series is a bit of a bonus video. It shows a more advanced use of Photoshop converting the image to the Lab color space where you have some unique controls over color. Sometimes it’s useful, sometimes not – but it’s easy to explore.