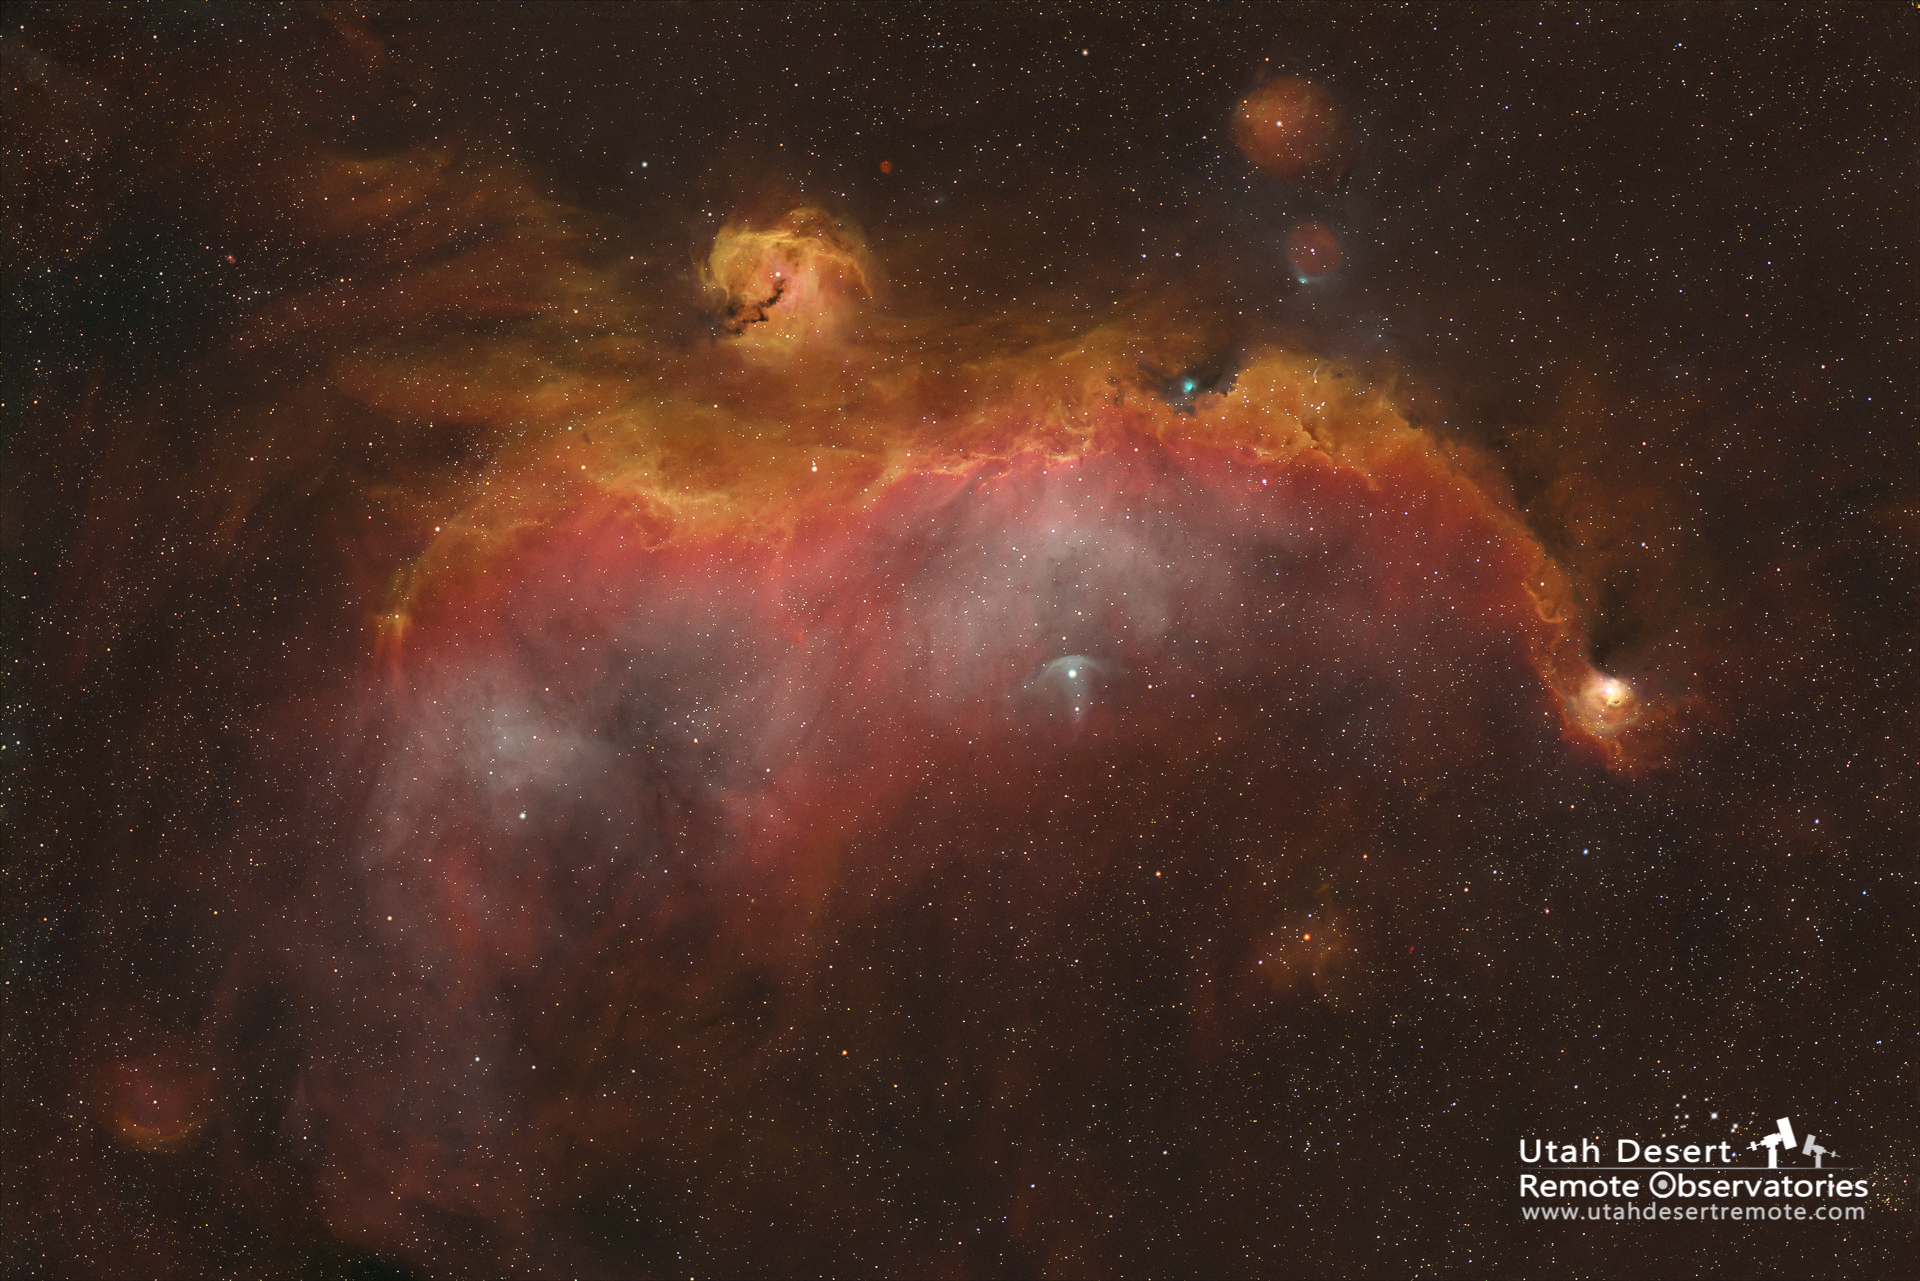
Here’s an easy exercise you can do in Photoshop to learn how I color map my monochrome images. It works with narrowband data as well as red, green and blue broadband data from a monochrome camera. This is by far the easiest way to turn those monochrome images into RGB color.
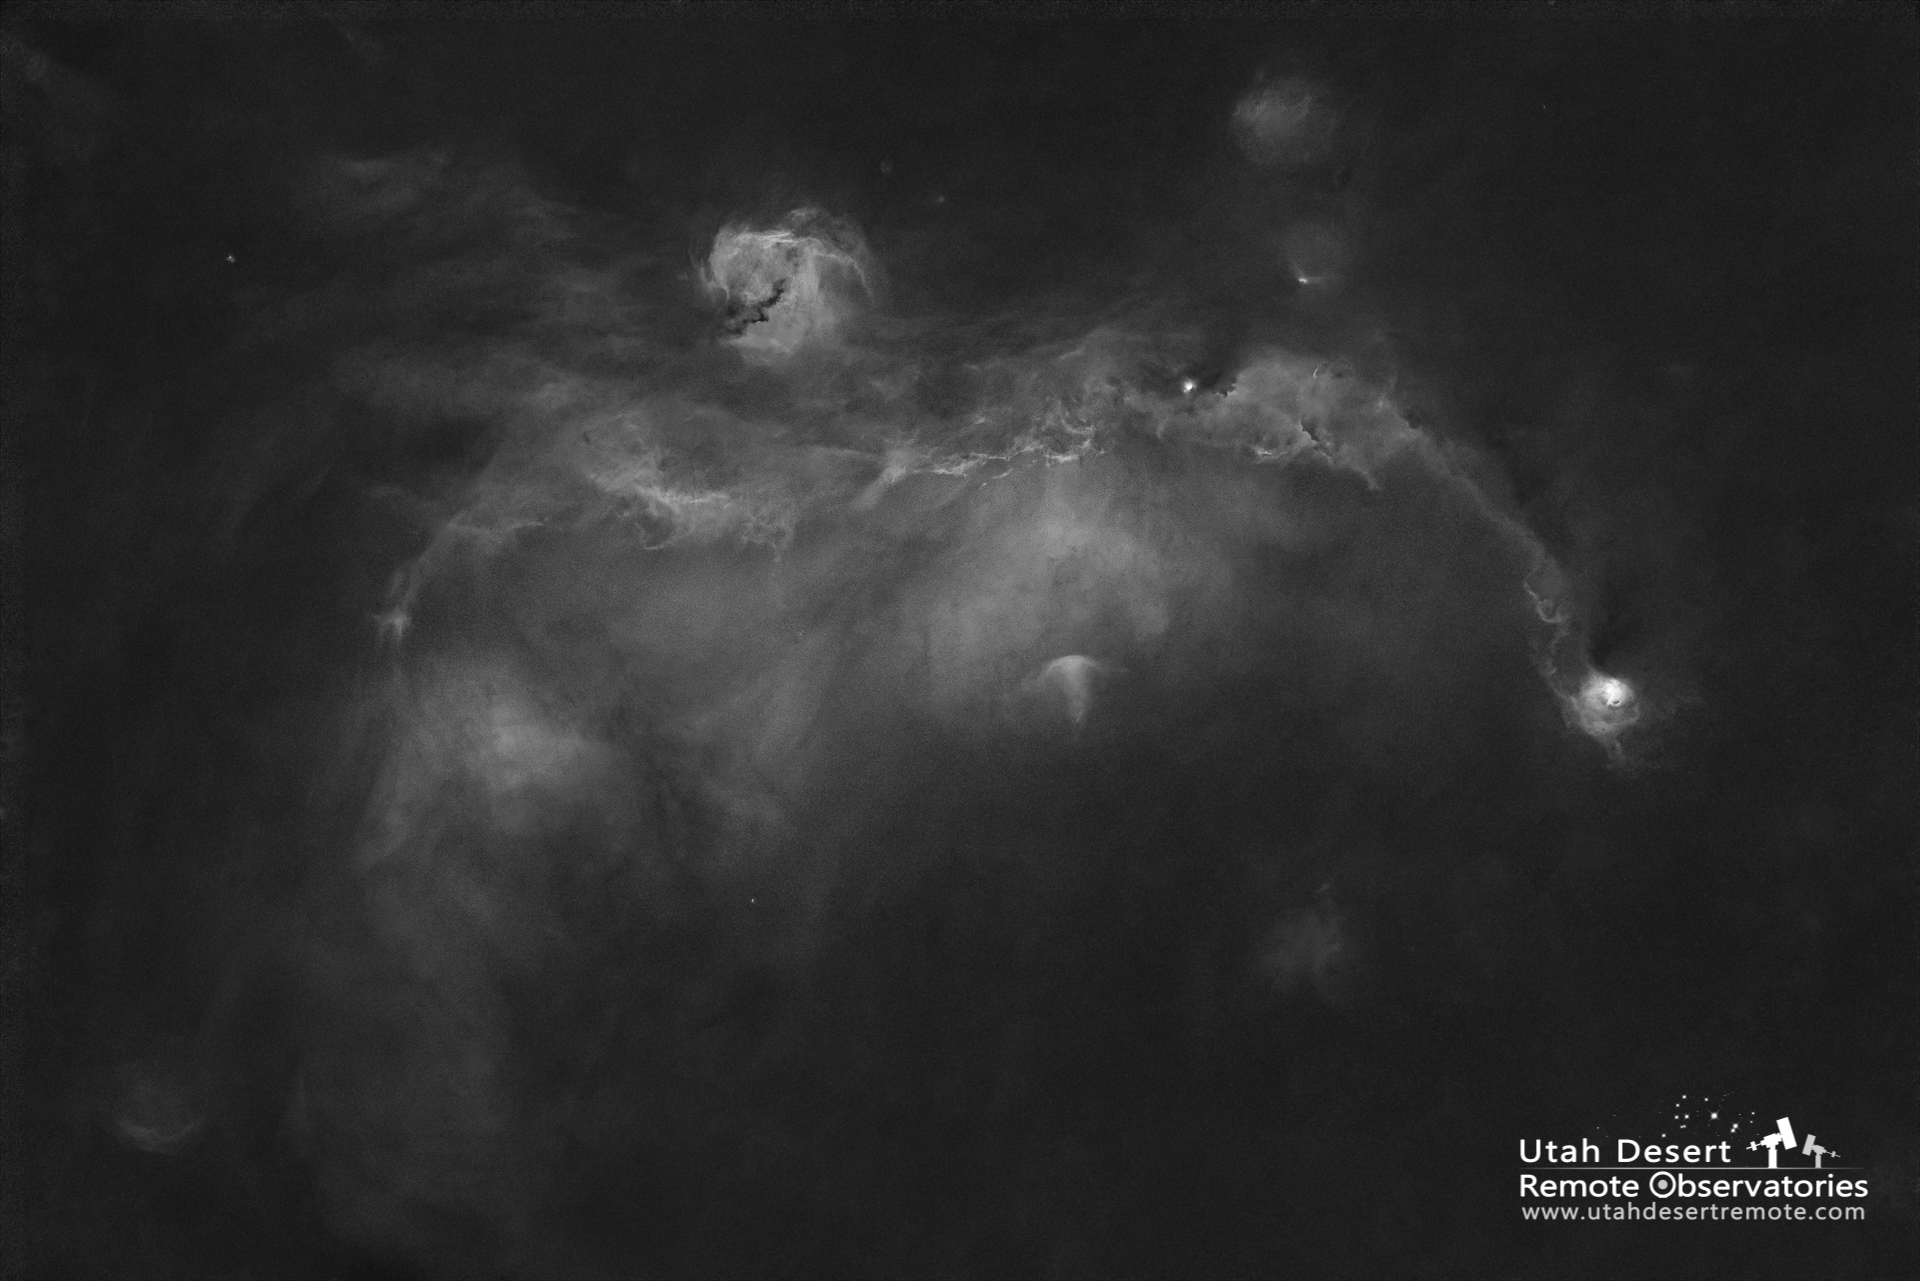
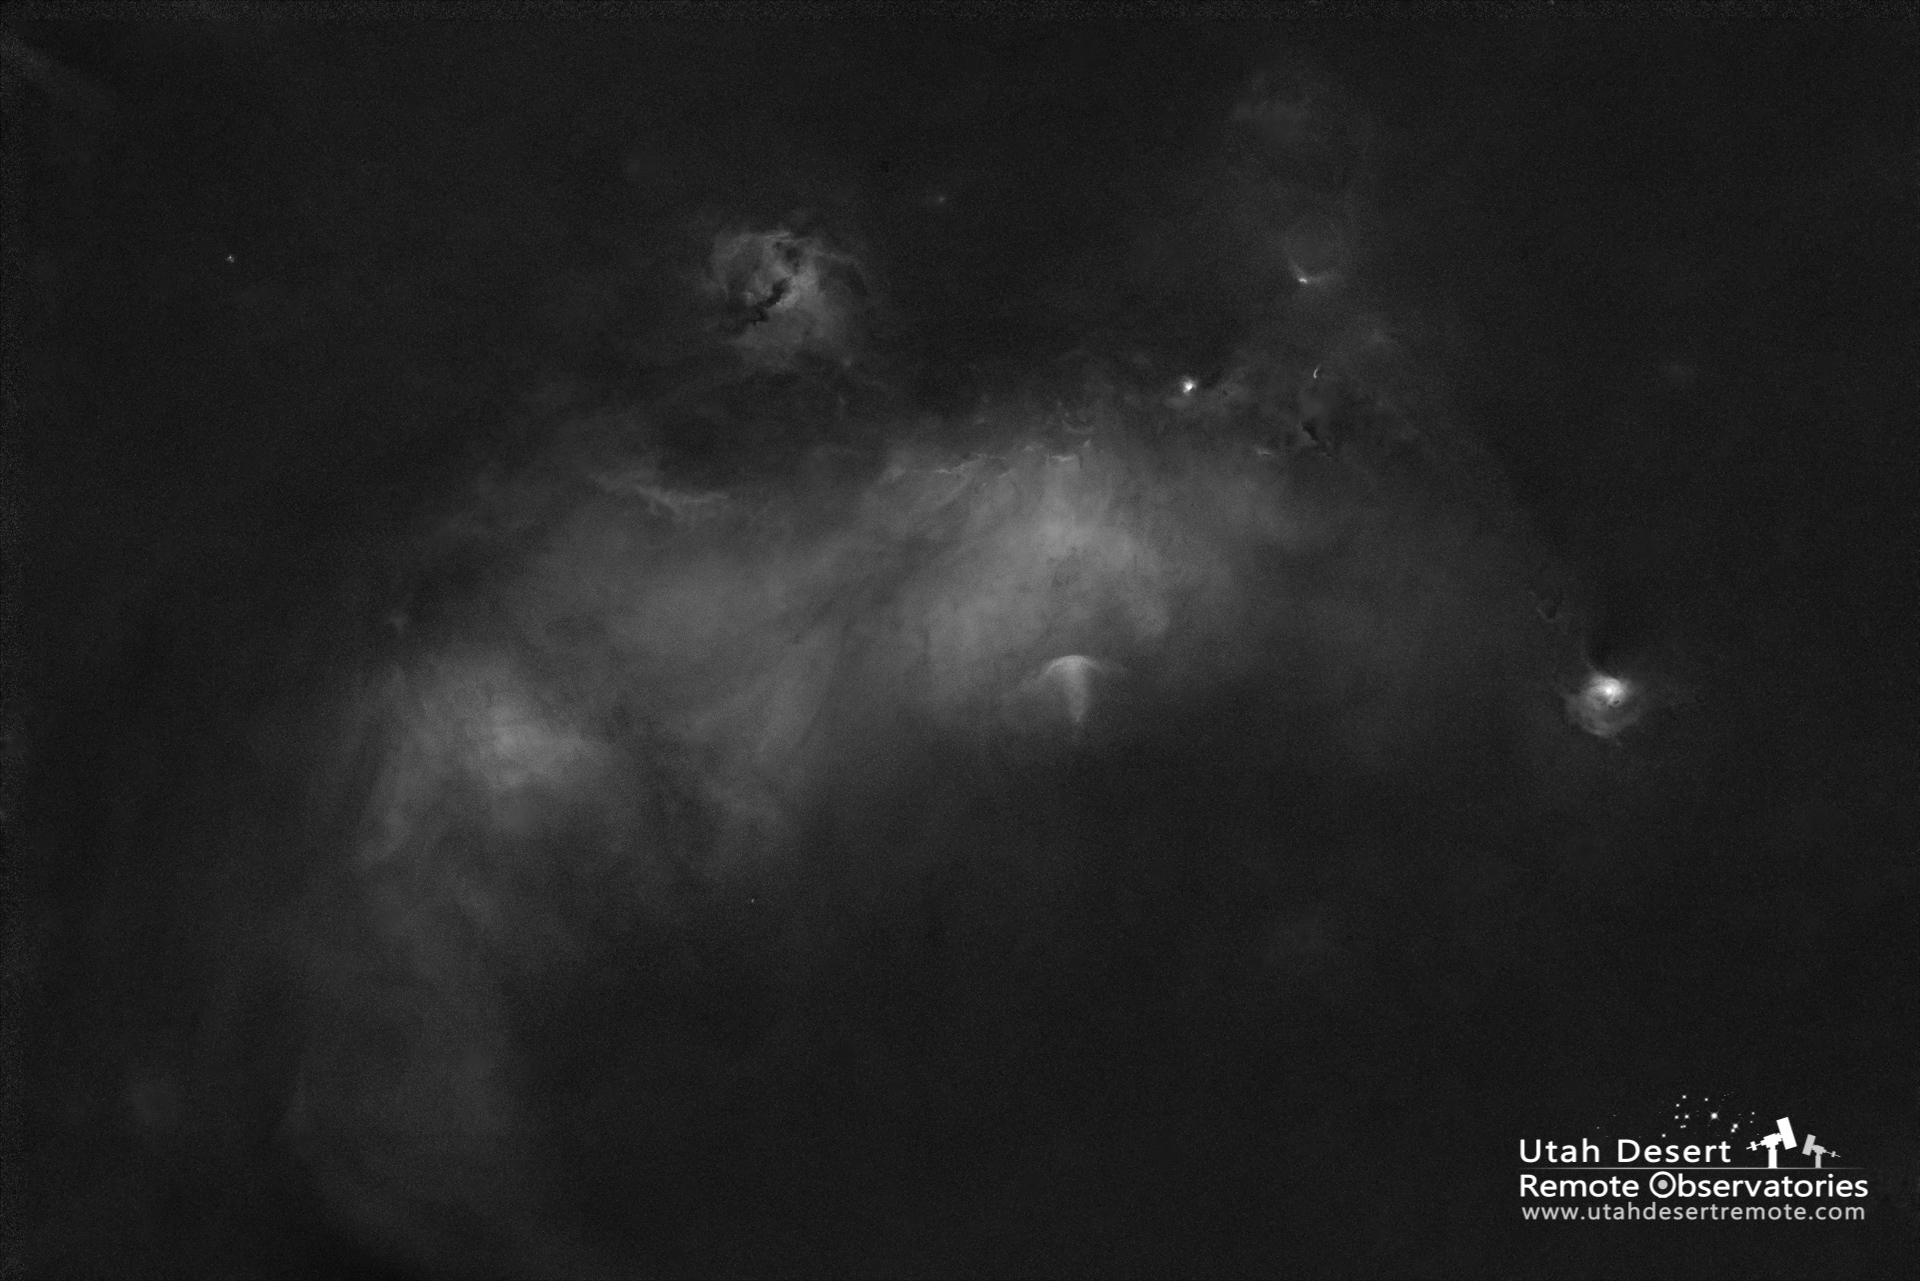
The video below shows the process in detail. Download the four monochrome images and save them with the color in the name. It doesn’t matter where you save them as long as you can find them.
Then open Photoshop. We want to load all four of these images so that they are all in a single document with each one on its own layer. To do that we’ll use the menu option found at File/Scripts/Load Files into Stack… That will open a dialog box where you will browse your computer to locate and select the four files. That tells Photoshop that you want to load those four images into one document as separate layers – which is just what we want. I like to organize my layers so that red is the bottom layer, then green, then blue with the stars layer on top. If that’s not how they loaded you can simply click on the layer in the layers panel and drag it up or down.
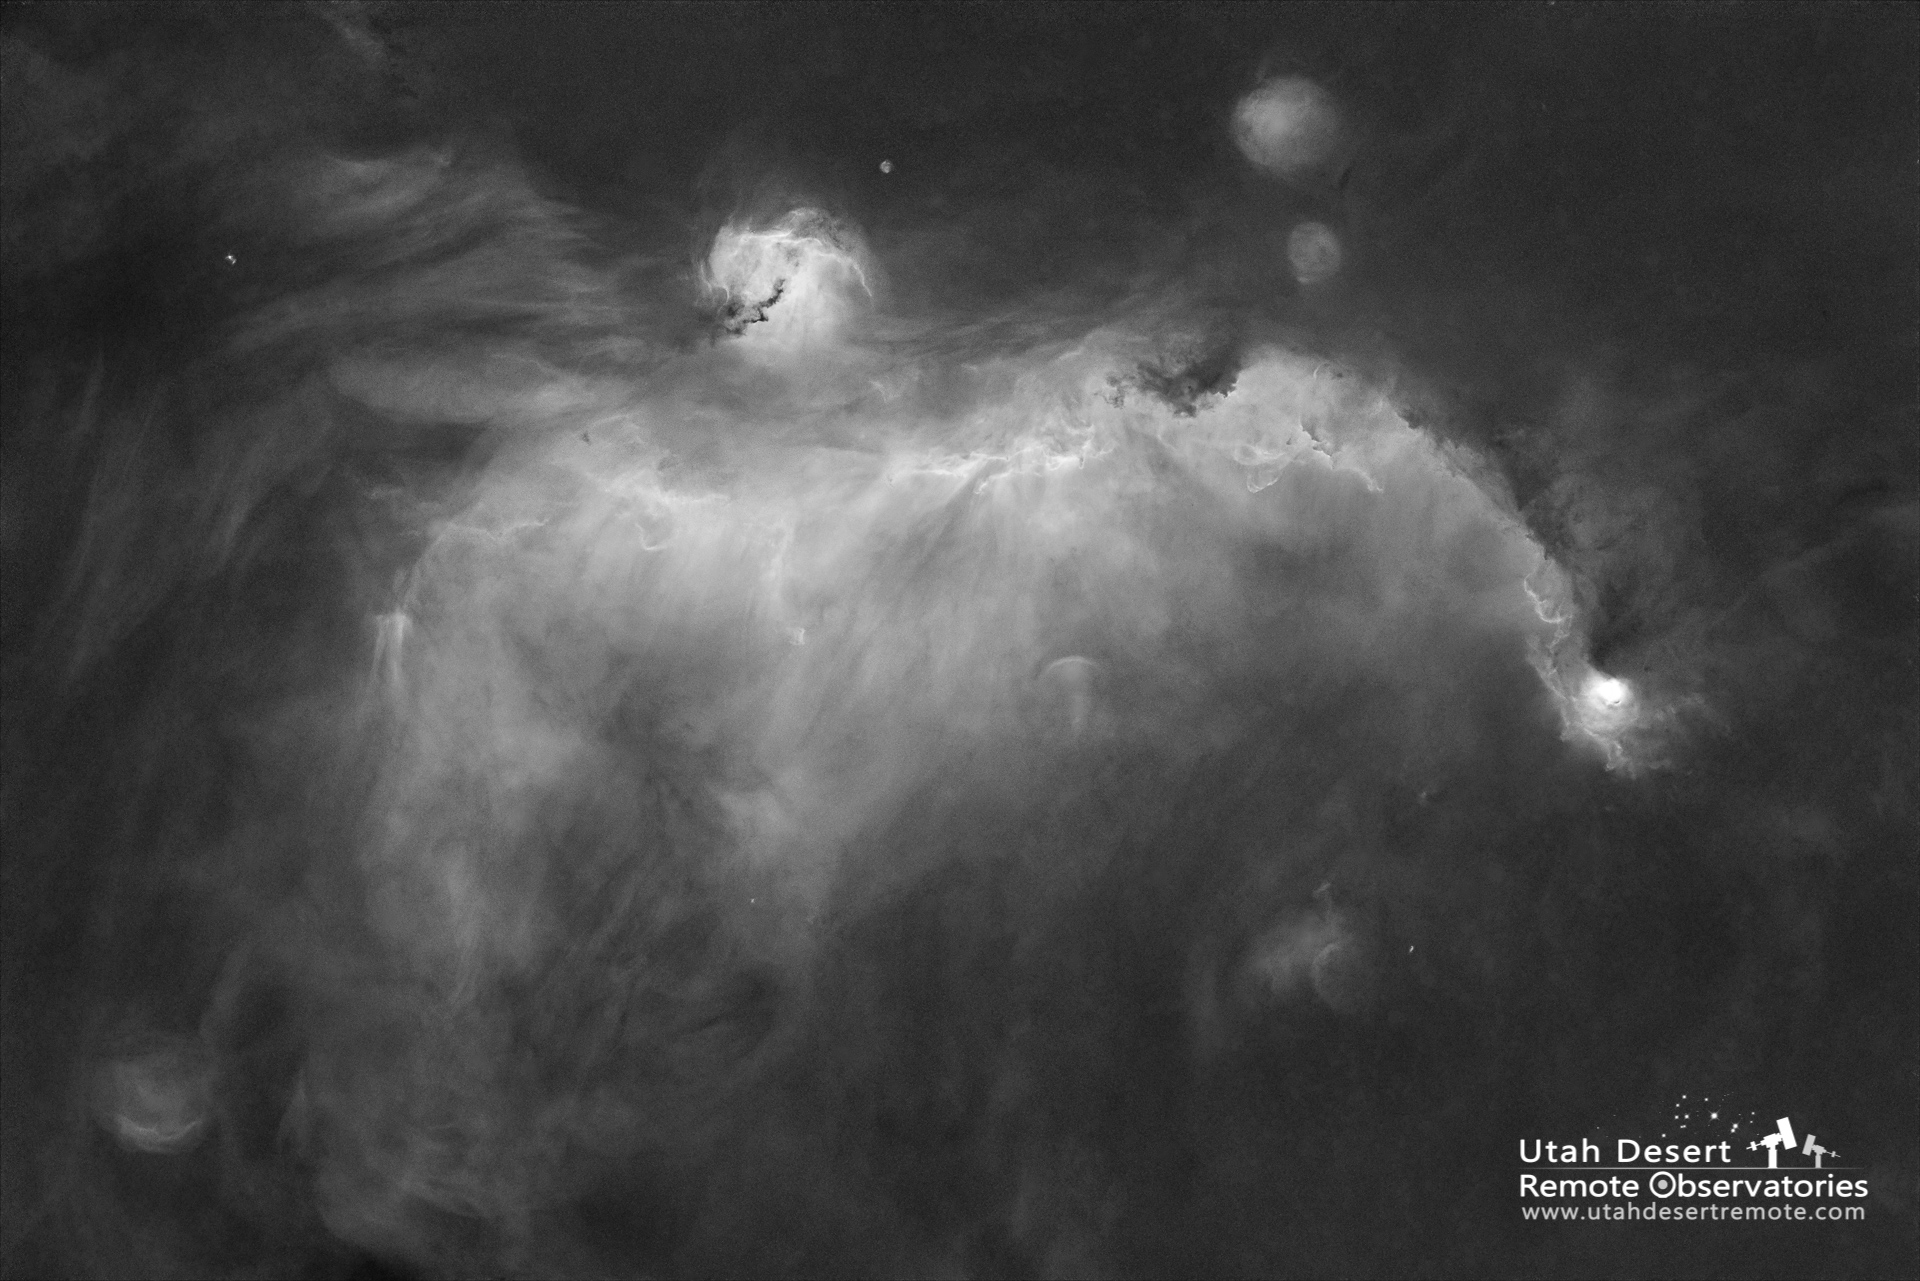
Next we’ll use layer blending options to create color. Even though the images are all in simple black and white they are actually RGB color images. Everything is black, white or gray because every pixel has its red, green and blue values equal; when red=green=blue the color is neutral gray. Fortunately though the color is there waiting for us to reveal it.
First, turn off the stars layer so we can see the starless nebula images.
If you double-click to the right of the layer name on a layer Photoshop will open the Advanced Blending Options dialog. In the center you should see three check boxes labeled Red, Green and Blue. All we need to do is turn off the colors we don’t want from each layer. For instance, on the Green layer simply turn off Red and Blue so that layer is only contributing green. On the Blue layer turn off Red and Green. Now you have a full color RGB image.
Lastly turn the Stars layer on. You’ll notice that it is opaque and hides everything below it. What we want is to just use the bright parts of the star layer. The easy way to accomplish that is to change its blending mode from Normal to Lighten. Now only the stars show up since they are lighter than anything on the layers below.
If you want to explore different color palettes simple go back to the green and blue layers and change their color contribution. By default the image is in the HSO color palette where hydrogen is the red layer, sulfur is the green and oxygen is blue. If you want to try the Hubble SHO color palette simply assign the colors that way by simpy switching the green layer to red.
Did you notice that you don’t have to select a color for the bottom layer? That’s because it already has all three colors. We’re using the two upper layers to selectively replace two of its colors.
Color mapping is that simple, but keep in mind that I already did the upfront work to create the layers. Normally you would bring your grayscale images that you created in DSS or Pixinsight into Photoshop the same way.
Note: when opening images from DSS or Pixinsight you may find that the red, green and blue checkboxes are missing. That’s because those programs usually save images as grayscale rather than RGB. The fix is to simply go to Image/Mode and choose the RGB color mode so that Photoshop creates the three matching color channels.